Your app on GitHub
Getting the project ready to leave your computer
Recap of Day 1
- A Shiny app is a folder with
ui.R(what the user sees) andserver.R(what R does) - UI and server talk only through IDs:
inputId→input$id,outputId→output$id - Each
*Output()in the UI has itsrender*()partner in the server render*()andreactive()re-run automatically when the inputs they read changeeventReactive(input$button, { ... })re-runs only when the button is clickeduiOutput()+renderUI()create inputs that depend on the data
Open your project my-shiny-app, run the app and check it works. If you did not finish yesterday, copy the files of apps/05-explore-step4 into the project.
To publish the app, the online server (Connect Cloud) takes it from a GitHub repository. Today we put the project my-shiny-app on GitHub.
Create a GitHub account
Go to the GitHub website, available at https://github.com/
Solve the CAPTCHA and submit
Install GitHub Desktop
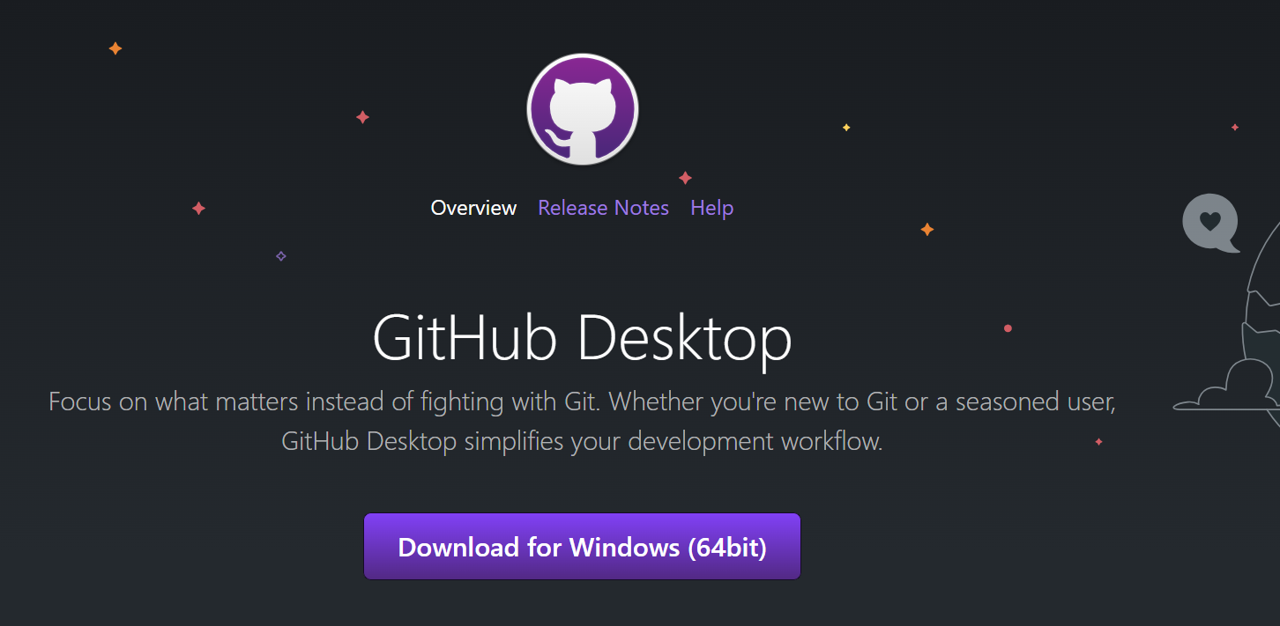
Once the installer is downloaded, follow the installation instruction. Sign in to your GitHub account
Repositories management
The GitHub repositories are the folders containing the R Project:
Create new repository
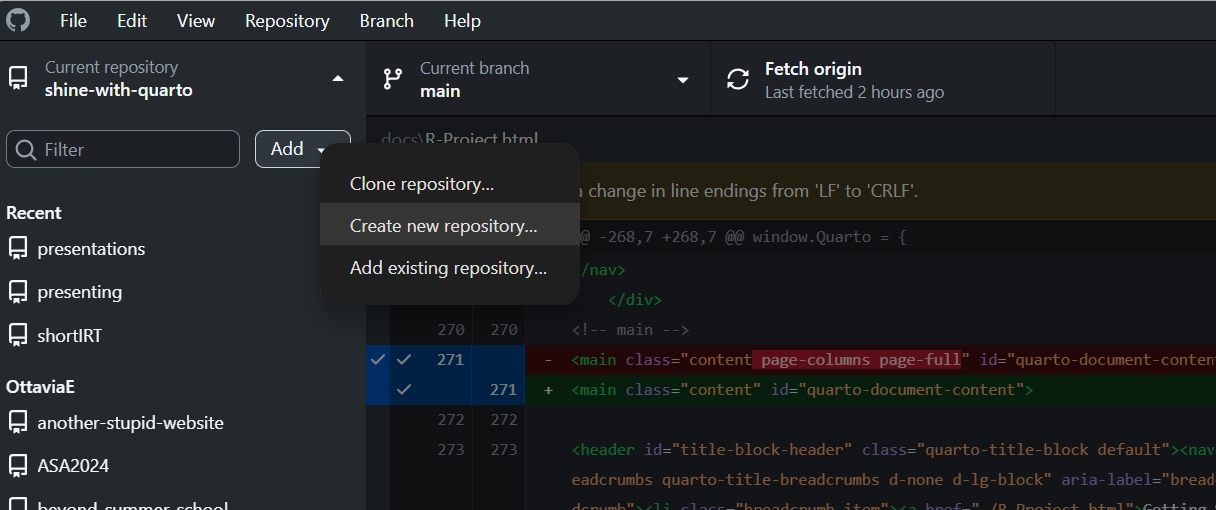
This initializes a new GitHub repository, where you can provide different information concerning its characteristics
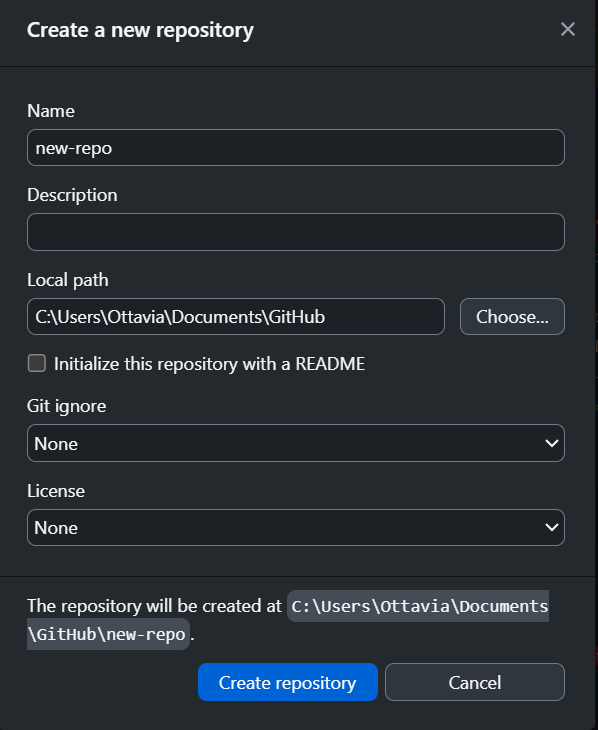
Add existing repository
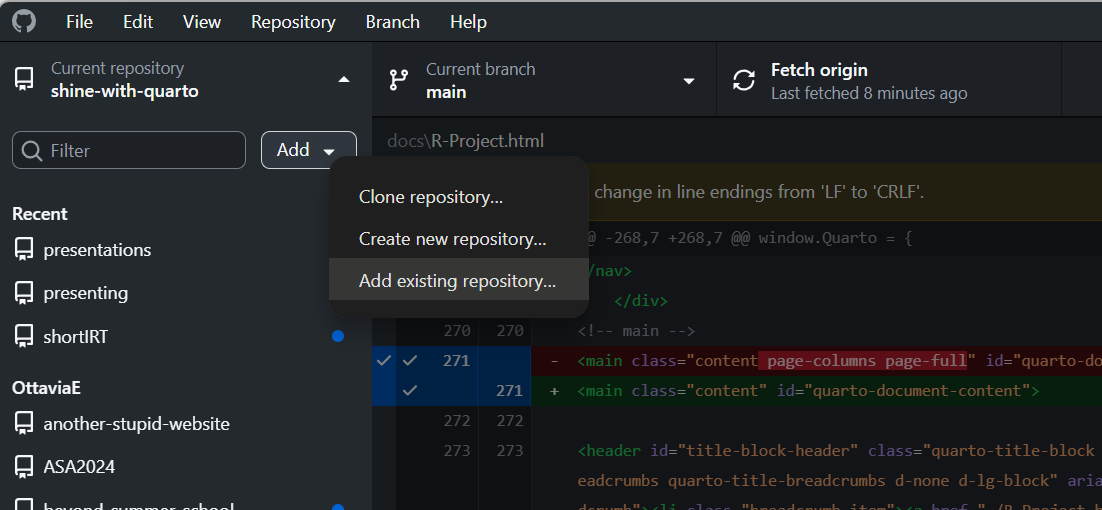
This option opens a window where you can navigate to your repository (i.e., a folder on your computer). When you do that, GitHub realizes that the repository does not exist as a GitHub repo, warns you of this and asks you whether you want to create a GitHub repo in that directory – needles to say, say yes and do that.
Publish the repositories
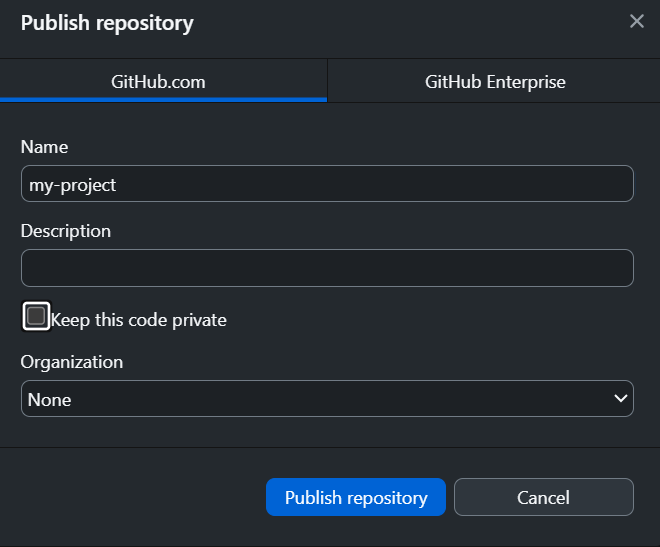
Once a repository is added (either by adding an existing one or creating a new one), it can be published and made available online for other people:
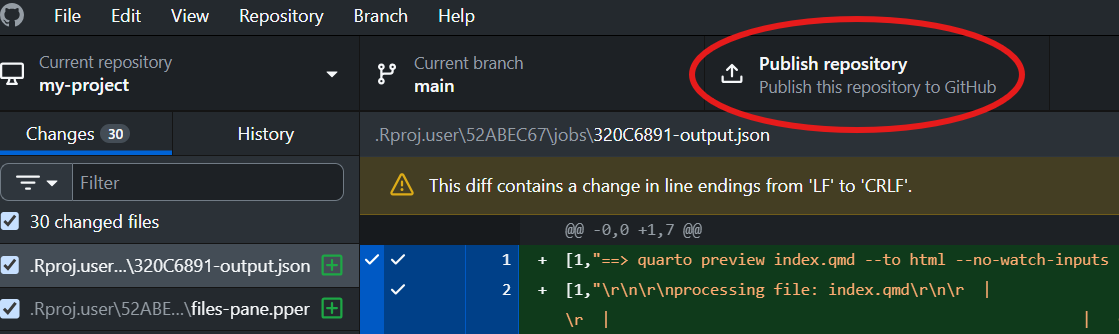
If you want your repository to be found by other users, remove the flag from the “Keep this code private”:
commit + push
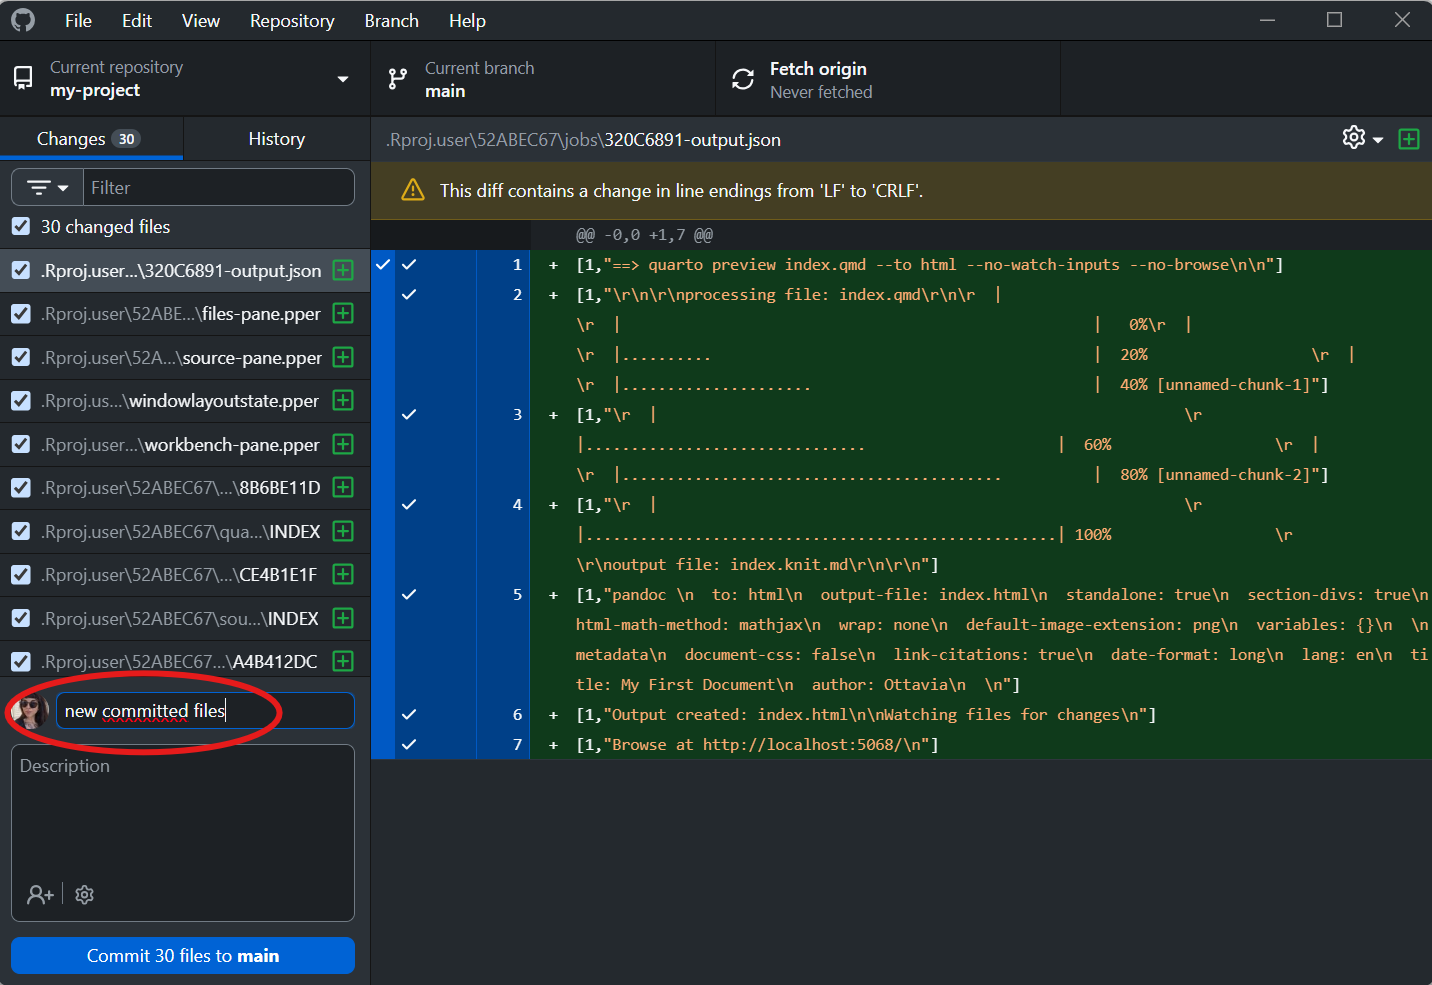
Everything is ready for the commitment.
- Select specific files and commit them. The commit message is mandatory! It is useful for your future self, just to remember the changes you made, when and possibly why.
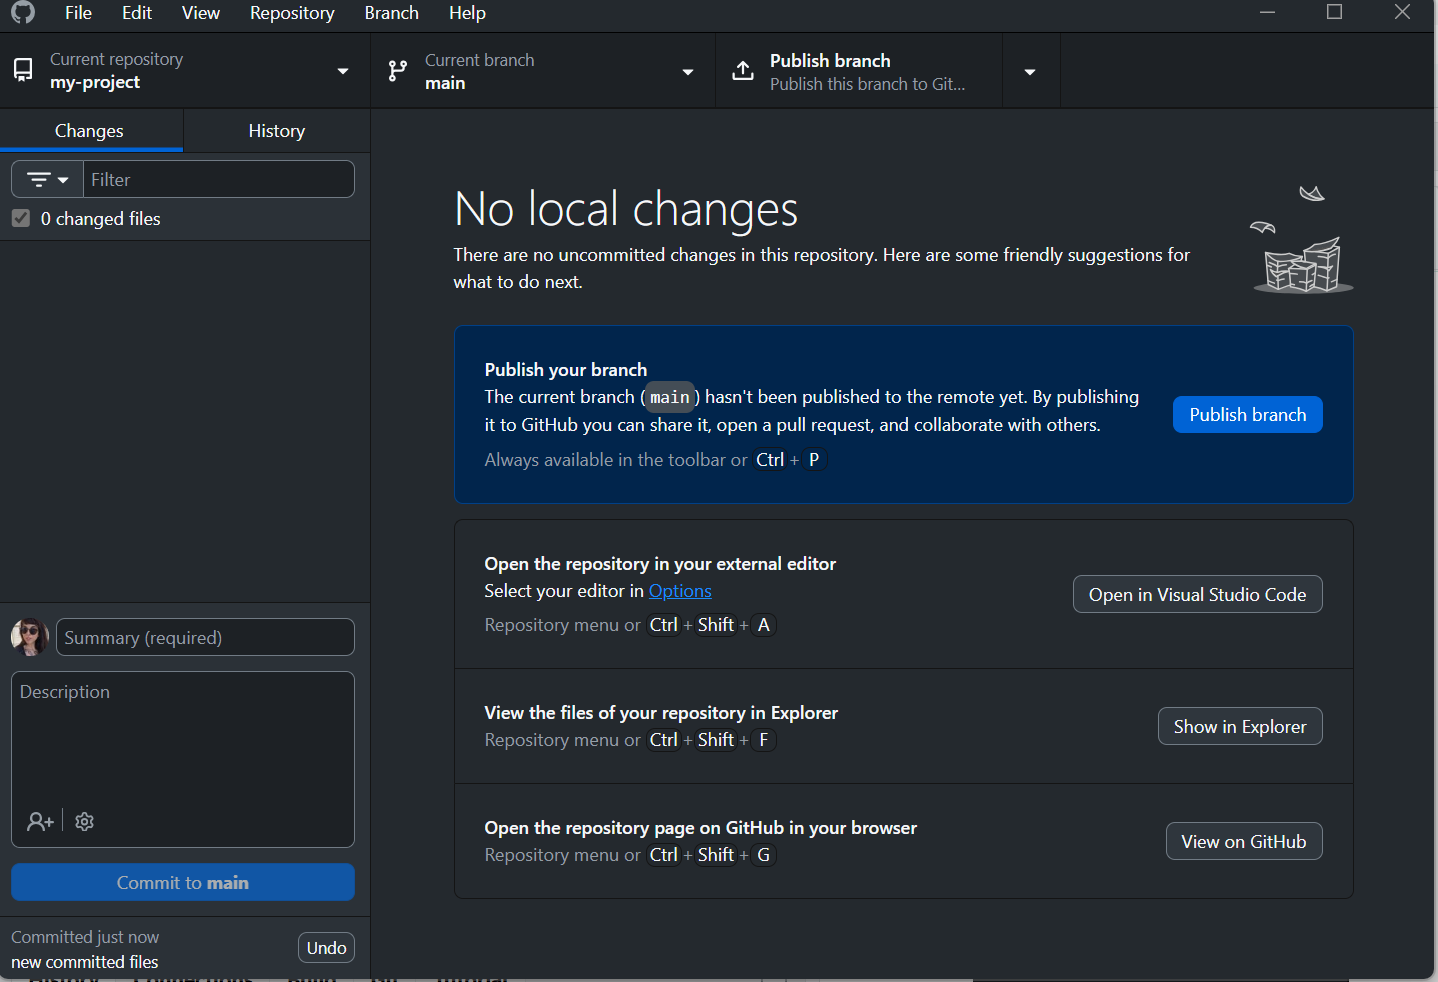
- The changes must be pushed to GitHub:
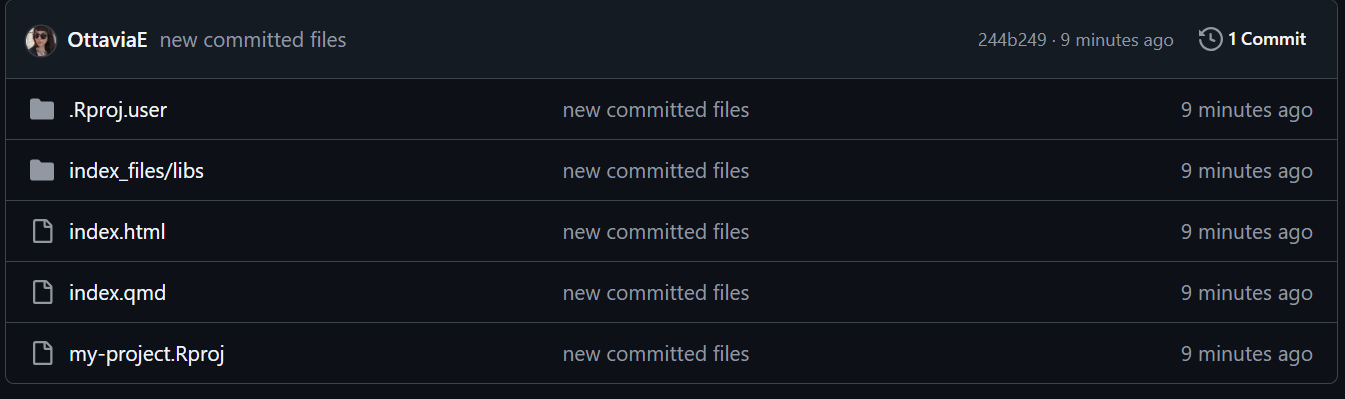
- Check whether the changes are live on GitHub:
Licenses
Summarizing the differences between the types of licences:
| MIT | GNU GPL |
|---|---|
| Can be used in proprietary software | Derivative works must remain open source |
| Minimal restrictions | Requires source code disclosure upon redistribution |
| Maximizes flexibility and adoption | Ensures openness is preserved |