Spread the shine
Deploy your app on a free server
What is needed
- An online server hosting the application (Section 1.1) (which is connected to GitHub)
- The local version on your computer (Section 1.2)
- The connection between the app and the online server (Section 1.3)
- The deployment (Section 1.4)
Shiny server
Many servers exist, this article provides an overview on the available ones, although a subscription is required for pro features.
You can set a server from scratch (choose your own adventure). Here’s an option with Digital Ocean provided by Dean Attali. This option requires quite advanced programming skills, although the guide provided by Dean Attali is very basic and easy-to-use.
shinyapps.io is the “official” server for shiny apps. The free licence version allows for hosting 5 apps at the time.
Connect cloud
At the end of 2026, shinyapps.io will be replaced by Connect Cloud
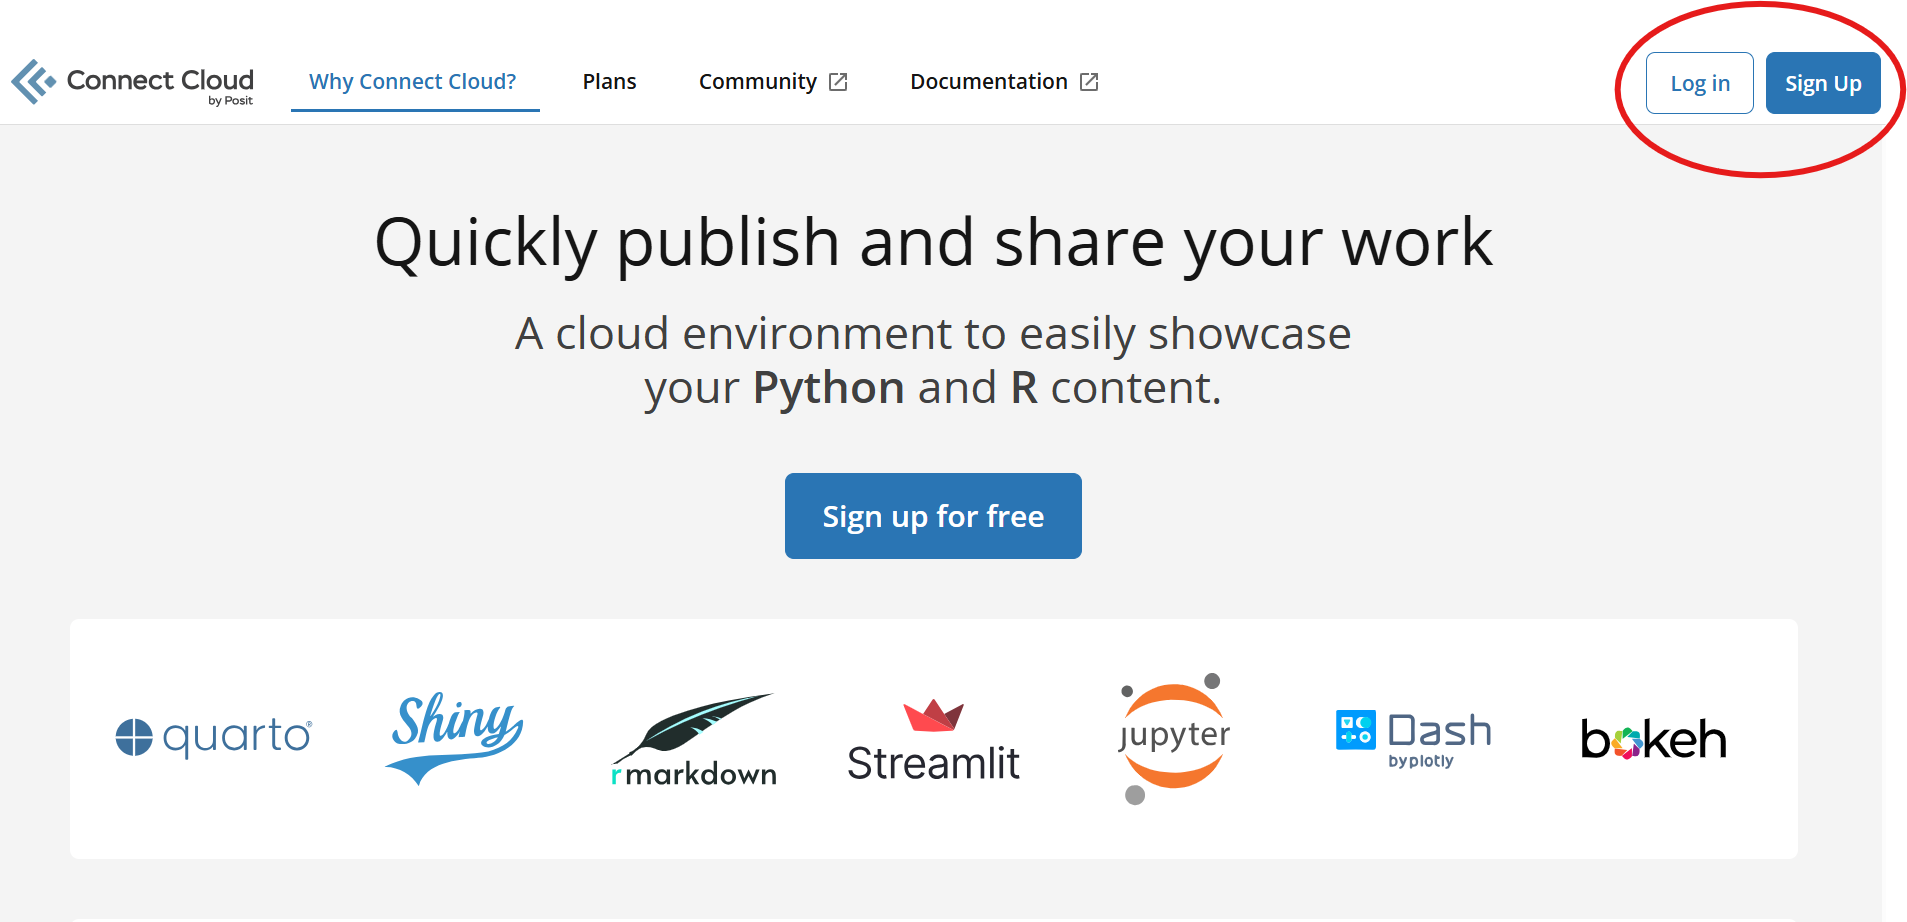
Connect Cloud
The account on Connect Cloud can be connected to an already existent account, such as a Google Account. The best option is to link Connect Cloud to your GitHub account:
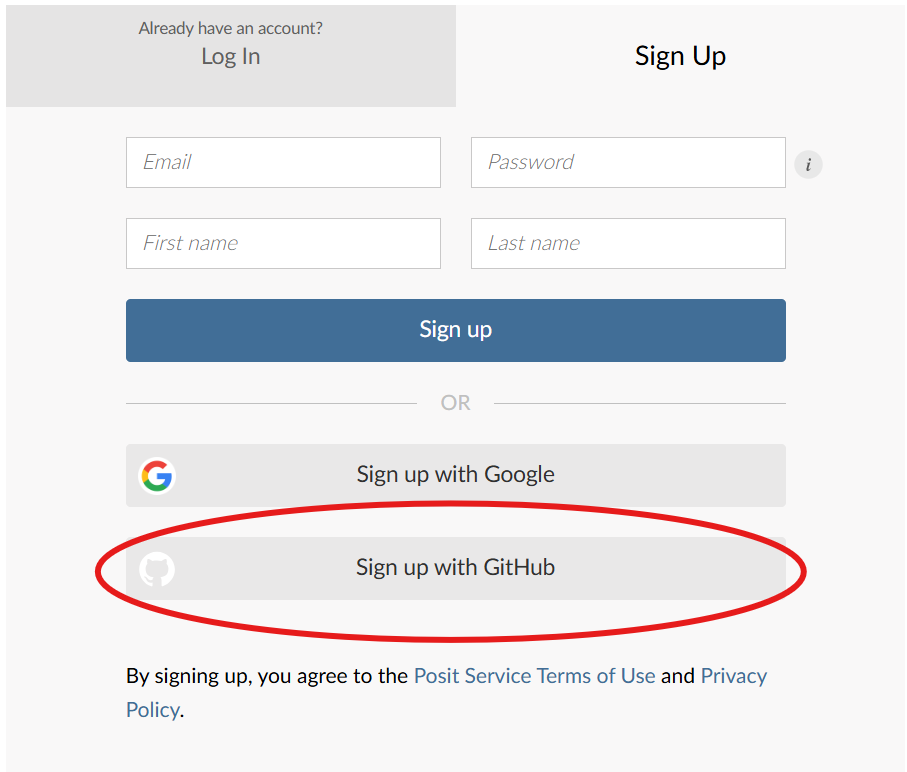
Follow the instructions and then choose an account name for posit.
Local app
The app must be stored in an R file with clearly defined ui and server.
The R file must be named app.R.
Once the app is ready for deployment, commit and push as usual.
Before the deploy: one file called
app.R
Connect Cloud wants the ui and the server in the same file, and the file must be called app.R. Our project has two files, ui.R and server.R: there are two ways to get to app.R.
Option 1 · Keep ui.R and server.R, and add a small app.R
File → New File → R Script, paste this and save it as app.R in the project folder, next to ui.R and server.R:
library(shiny)

source("ui.R")        # creates the object ui
source("server.R")    # creates the object server

shinyApp(ui, server)
source() runs the two files, so the objects ui and server are ready for shinyApp(). When you change the app, you keep working on ui.R and server.R as before.
Option 2 · Put everything in app.R
Create a new script app.R and copy into it the content of ui.R and server.R, one after the other, then add shinyApp() at the end:
library(shiny)

# content of ui.R
ui = fluidPage(
  ...
)

# content of server.R
server = function(input, output) {
  ...
}

shinyApp(ui, server)
library(shiny) is needed only once, at the top. Then delete ui.R and server.R, so that there is only one version of the app.
Either way, check that app.R works with Run App before going on.
The file must be within an R project, which is set to be a GitHub repository.
rsconnect
The rsconnect package is necessary to link the local app, the GitHub repository, and the Connect Cloud.
Connect Cloud is not R – as such, it needs external files describing the packages/dependencies that are employed and needed for the app deployment.
First, the package needs to be installed (Listing 1).
install.packages("rsconnect")Then, within the R-project hosting the app.R file, run the code in Listing 2.
rsconnect::writeManifest()The file manifest.json appears within the R project, making the app deployment possible.
manifest.json
manifest.json is the “shopping list” of your app. It records which version of R the app uses, which packages it needs (with their exact versions) and which files belong to the app. Connect Cloud is not your computer and has none of your packages installed: it reads the manifest and installs exactly those packages before starting the app. If you add a package to the app, you have to run rsconnect::writeManifest() again.
For the deployment, the folder of the project should have the following structure:
app-Examples/
├── .gitattributes
├── .gitignore
├── app-Examples.Rproj
├── app.R
└── manifest.json
Deploy
Everything is ready for the actual deployment of the app from Connect Cloud.
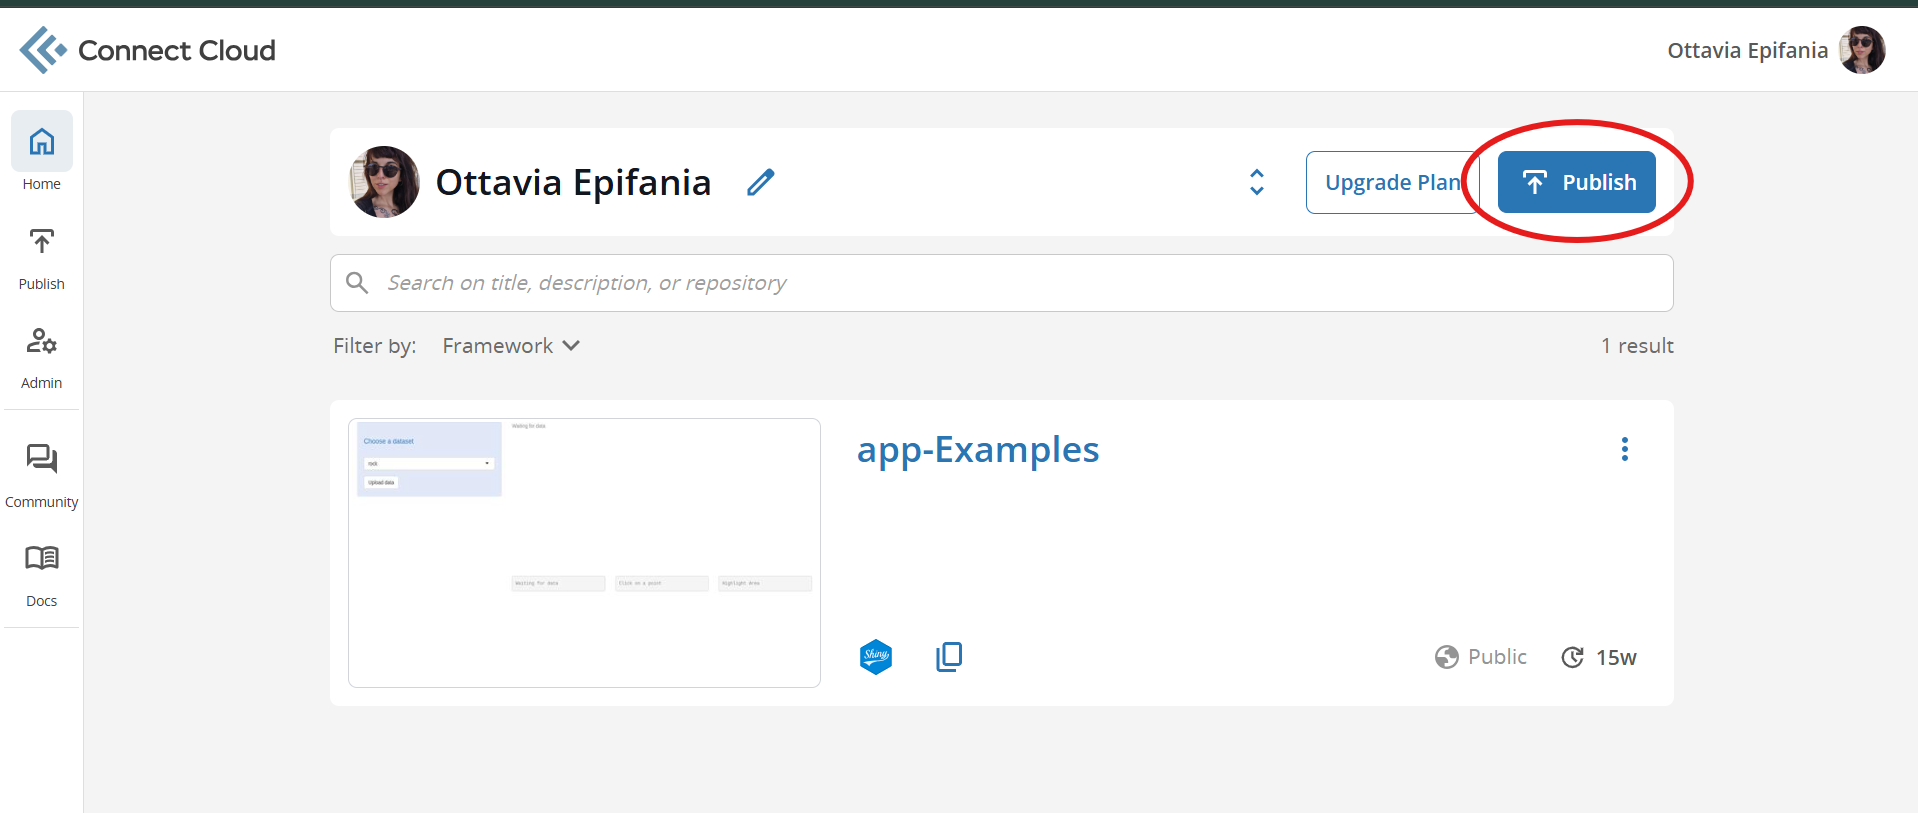
From the Home of your profile, search for the Publish button:
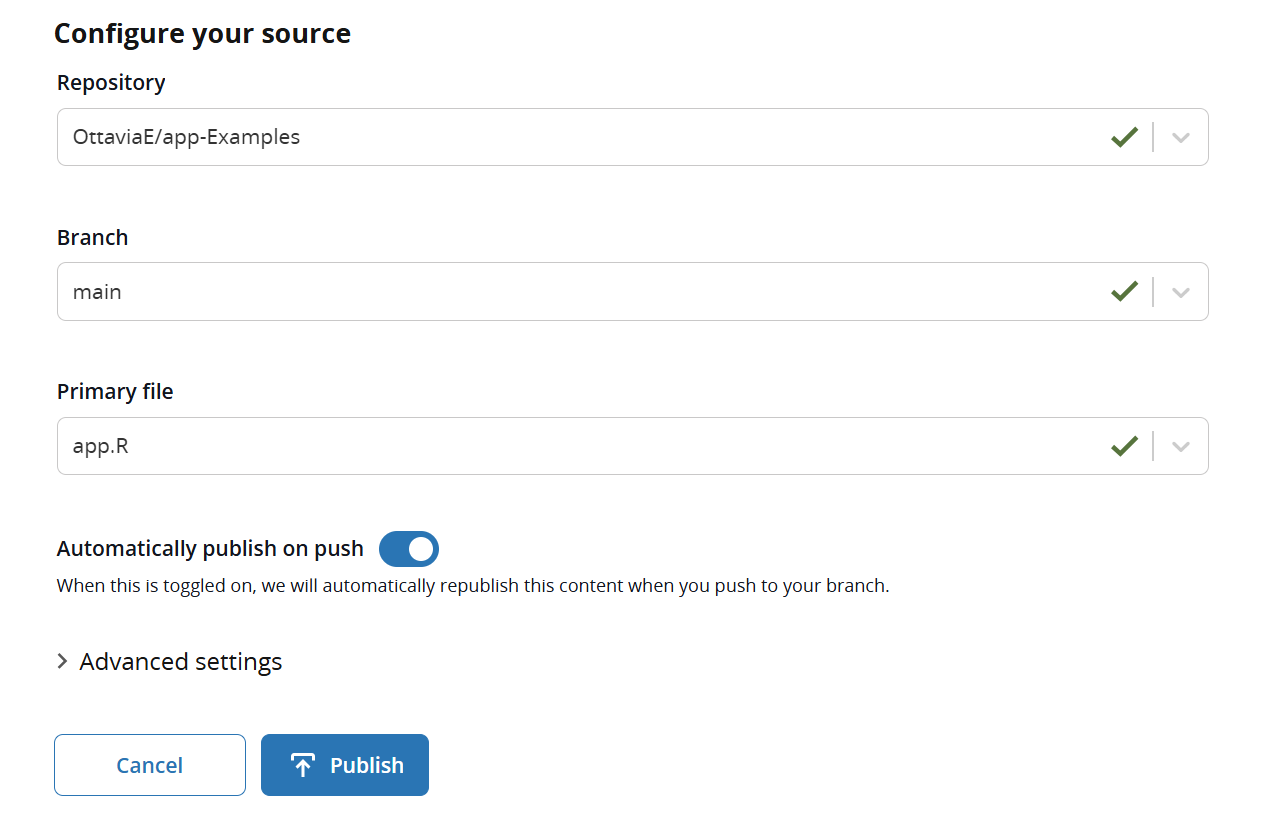
Select the repository, the folder, and the specific file of the app (Figure 2)